DIY Modern Mirror (re)Frame + What NOT To Do!

So my first attempt at a ‘real’ DIY project failed. Big time. I have done plenty of other DIY projects before I suppose, but nothing that included lumber and precise measurements and all that, which is why I refer to this as my first ‘real’ DIY.
Quick disclaimer: this post contains affiliate links. By using them to make a purchase, I may receive a small commission at no extra cost to you. Thank you in advance for contributing to my blog and supporting my Target addiction ;)
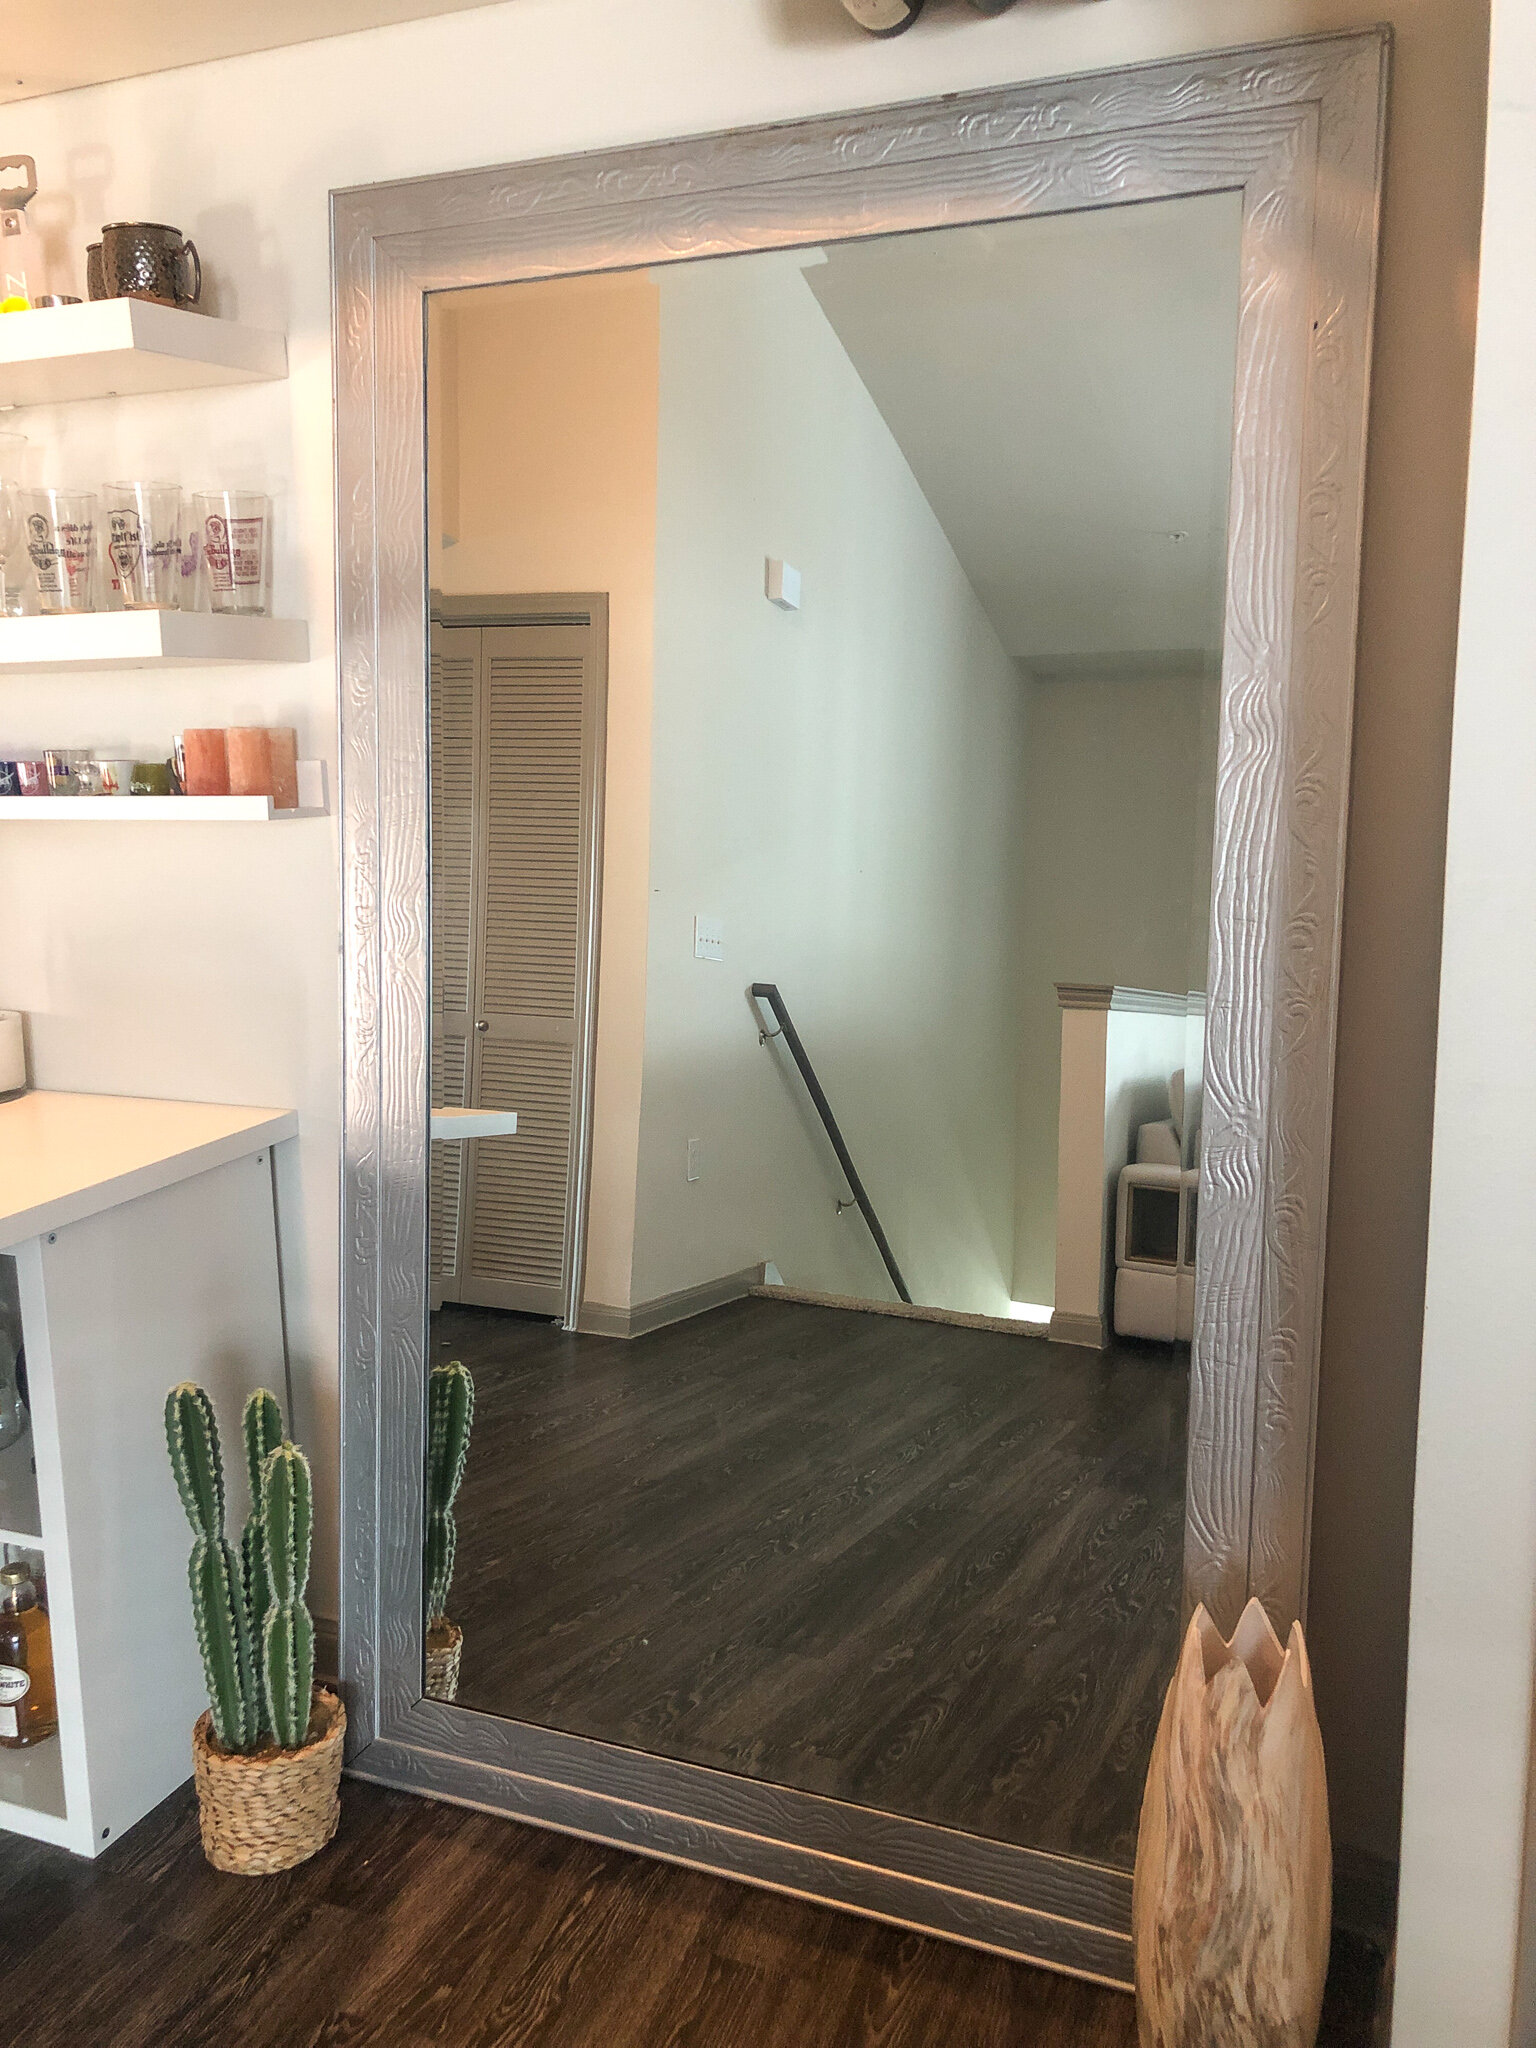
A couple days ago, I set out to reframe a very large, very not-my-style floor mirror that I’ve had for a couple of years. This is my mirror, on sale for $90 at Kirkland’s, which is a pretty great price for such a large mirror. The ornate silver frame you see in my before images actually started out as a faux wood frame. The frame was a plastic material that I spray painted gold a while back and then re-spray painted silver. Although I hated the look of the frame, I just went with it because I couldn’t find anything else that size in my price range. The spray paint helped a bit...for a while. Finally, last week I was absolutely fed up with looking at it and decided it was time for a real change.
As you already know from my spoiler of an opening, my first plan to reframe the mirror didn’t work out as I planned. So I’ll walk you through my original plan, what went wrong, and then we’ll get to the real tutorial. Keep reading till the end to see what the mirror looks like now. Another spoiler: she’s a beauty!
how not to reframe a mirror
My original plan was pretty simple—build a thin wood frame around the entire mirror using 1x2 strips. Then, I planned on using 1x4 strips across of the back of the frame (like slats on a bed frame), setting the mirror inside the frame, and glueing it to the slats. Unfortunately, I never got that far. Here are all the ways that my orignal plan went wrong so you can save yourself the trouble:
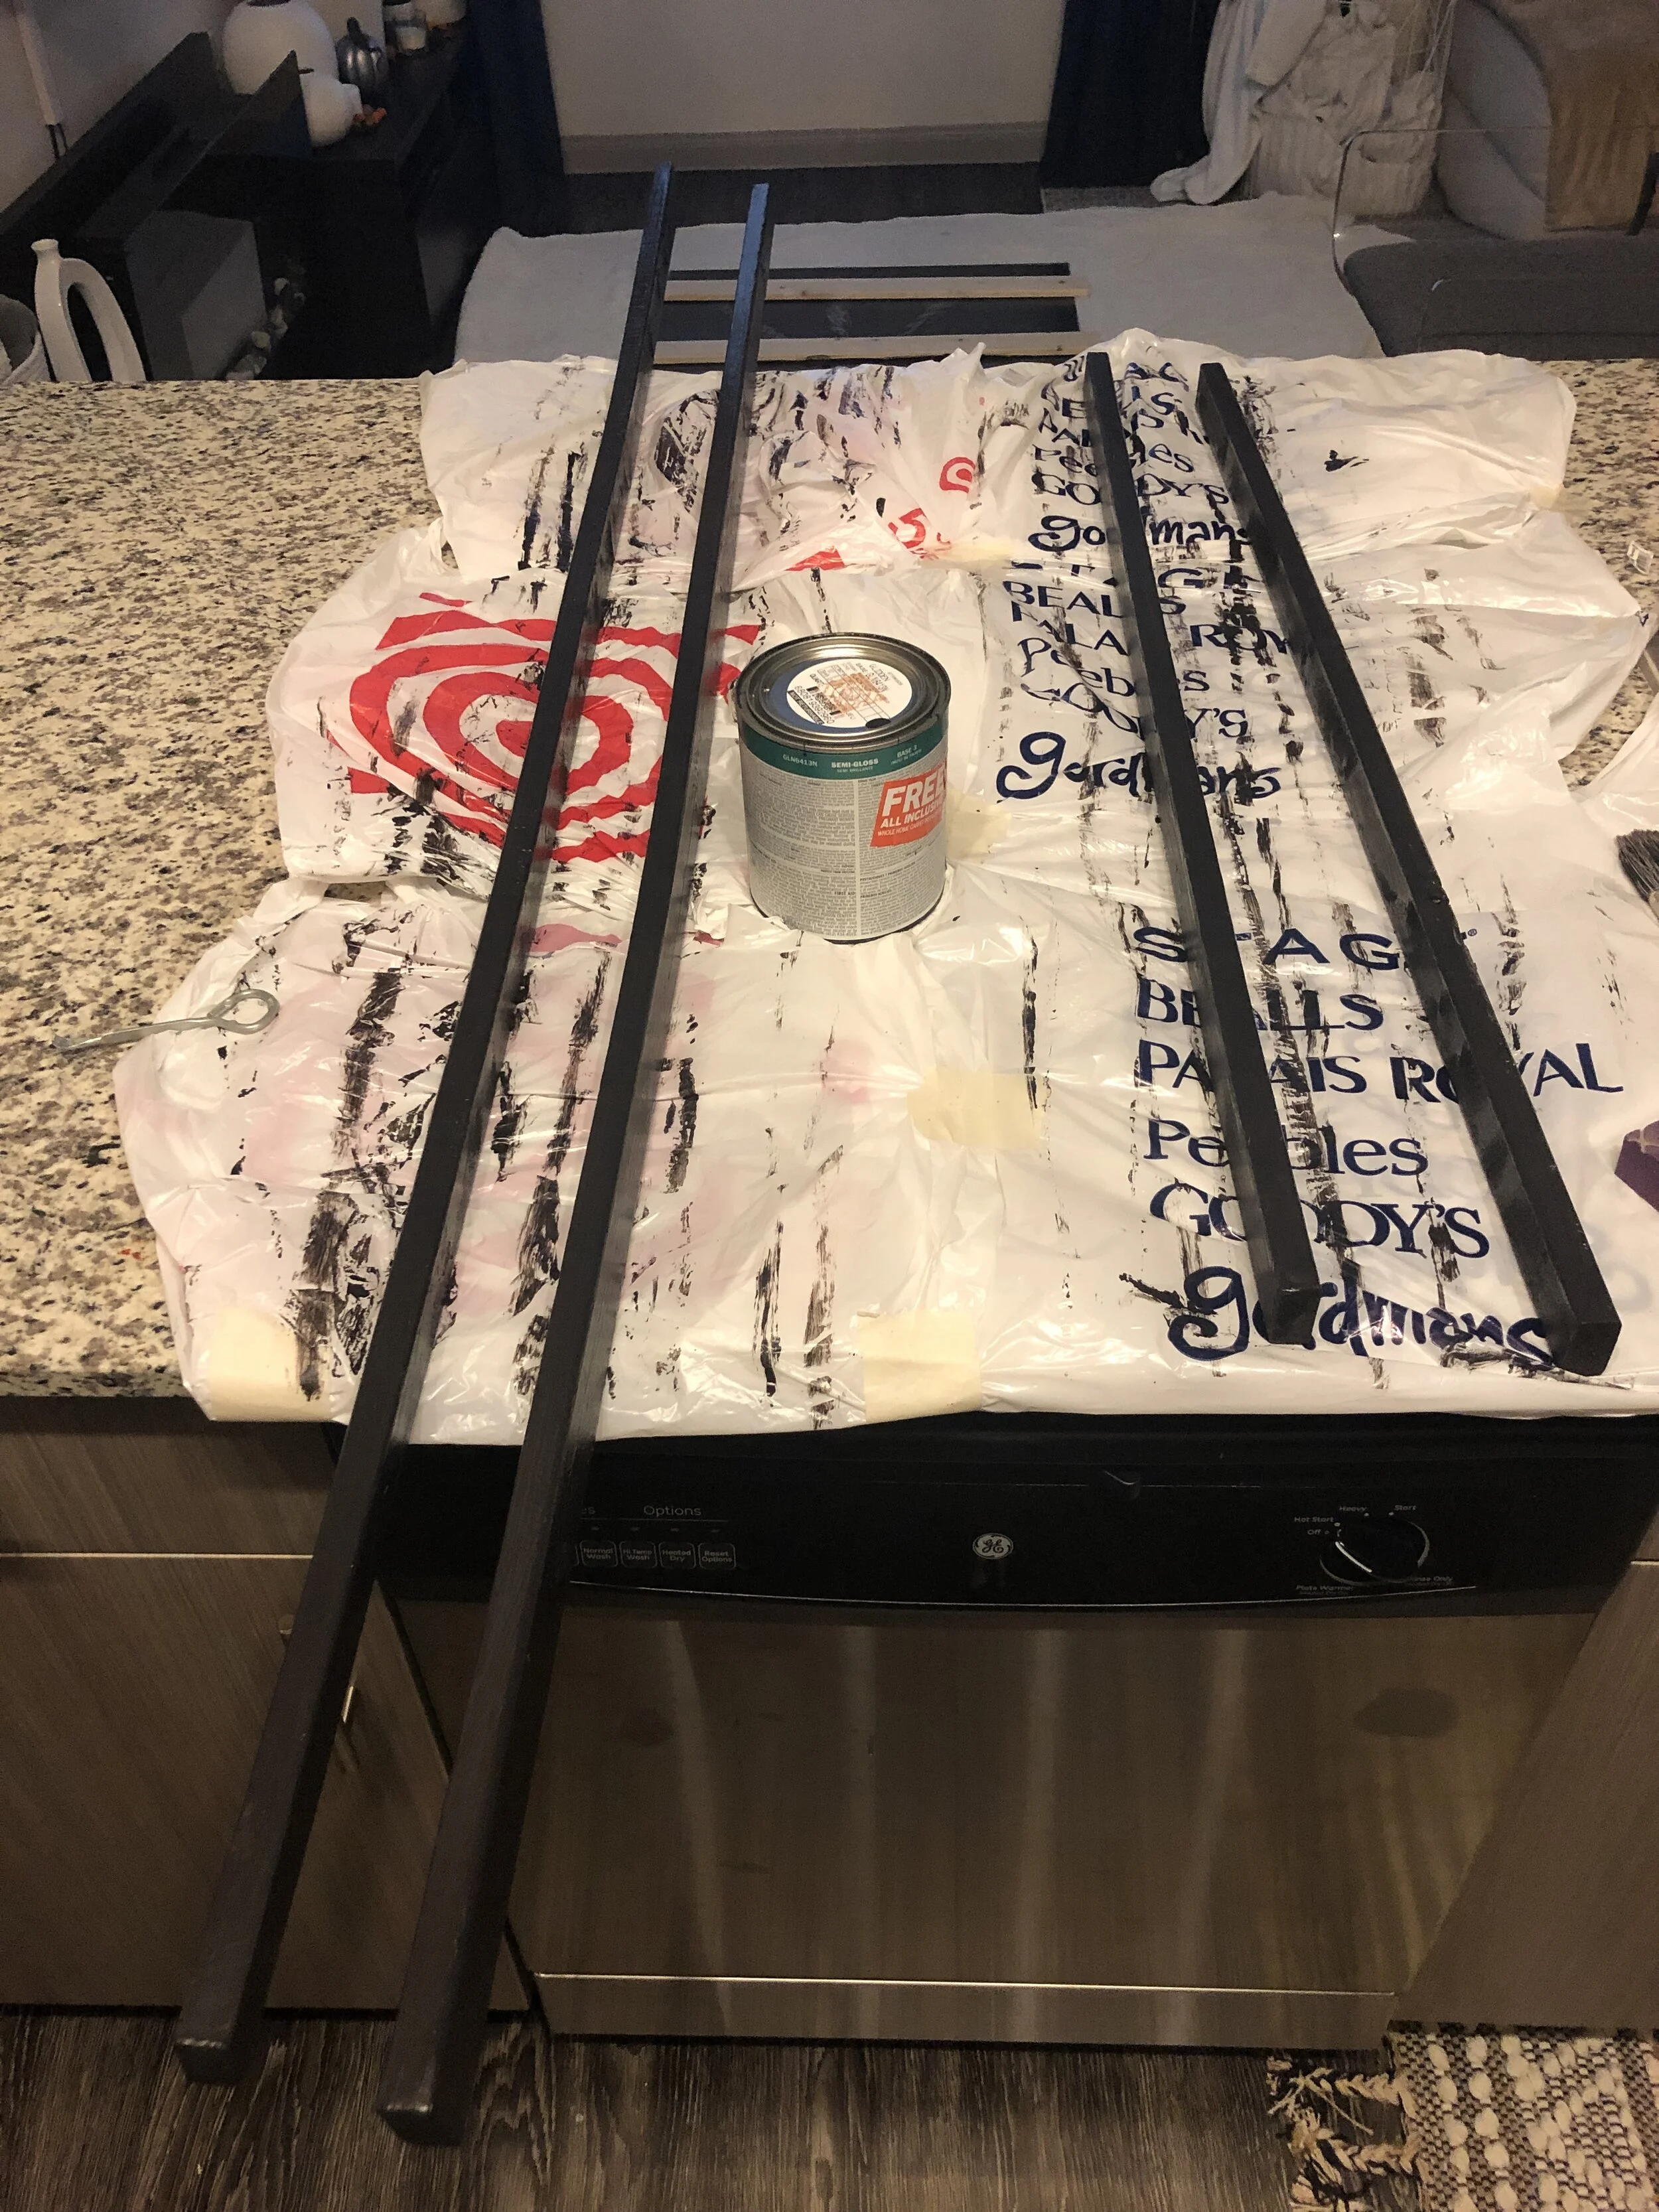
I bought the cheapest lumber I could find. I really wanted the mirror to have a thin frame with a slight ledge, so I used 1x2 lumber strips cut to my dimensions. The thin strips were pretty hard to drill into and ended up splitting when I tried to screw the frame together.
The wood was too thin. I tried to recreate the thin, metal mirror look by using thin strips of wood and just…no.
The strips weren’t straight. Do yourself a HUGE favor and make sure you buy straight lumber. Like no bowing at all. I didn’t realize one of my pieces was bowed until it was too late and it became impossible to screw the pieces together to make a perfectly rectangular frame. You can tell from the pictures that even though the pieces seemed pretty straight, they weren’t.
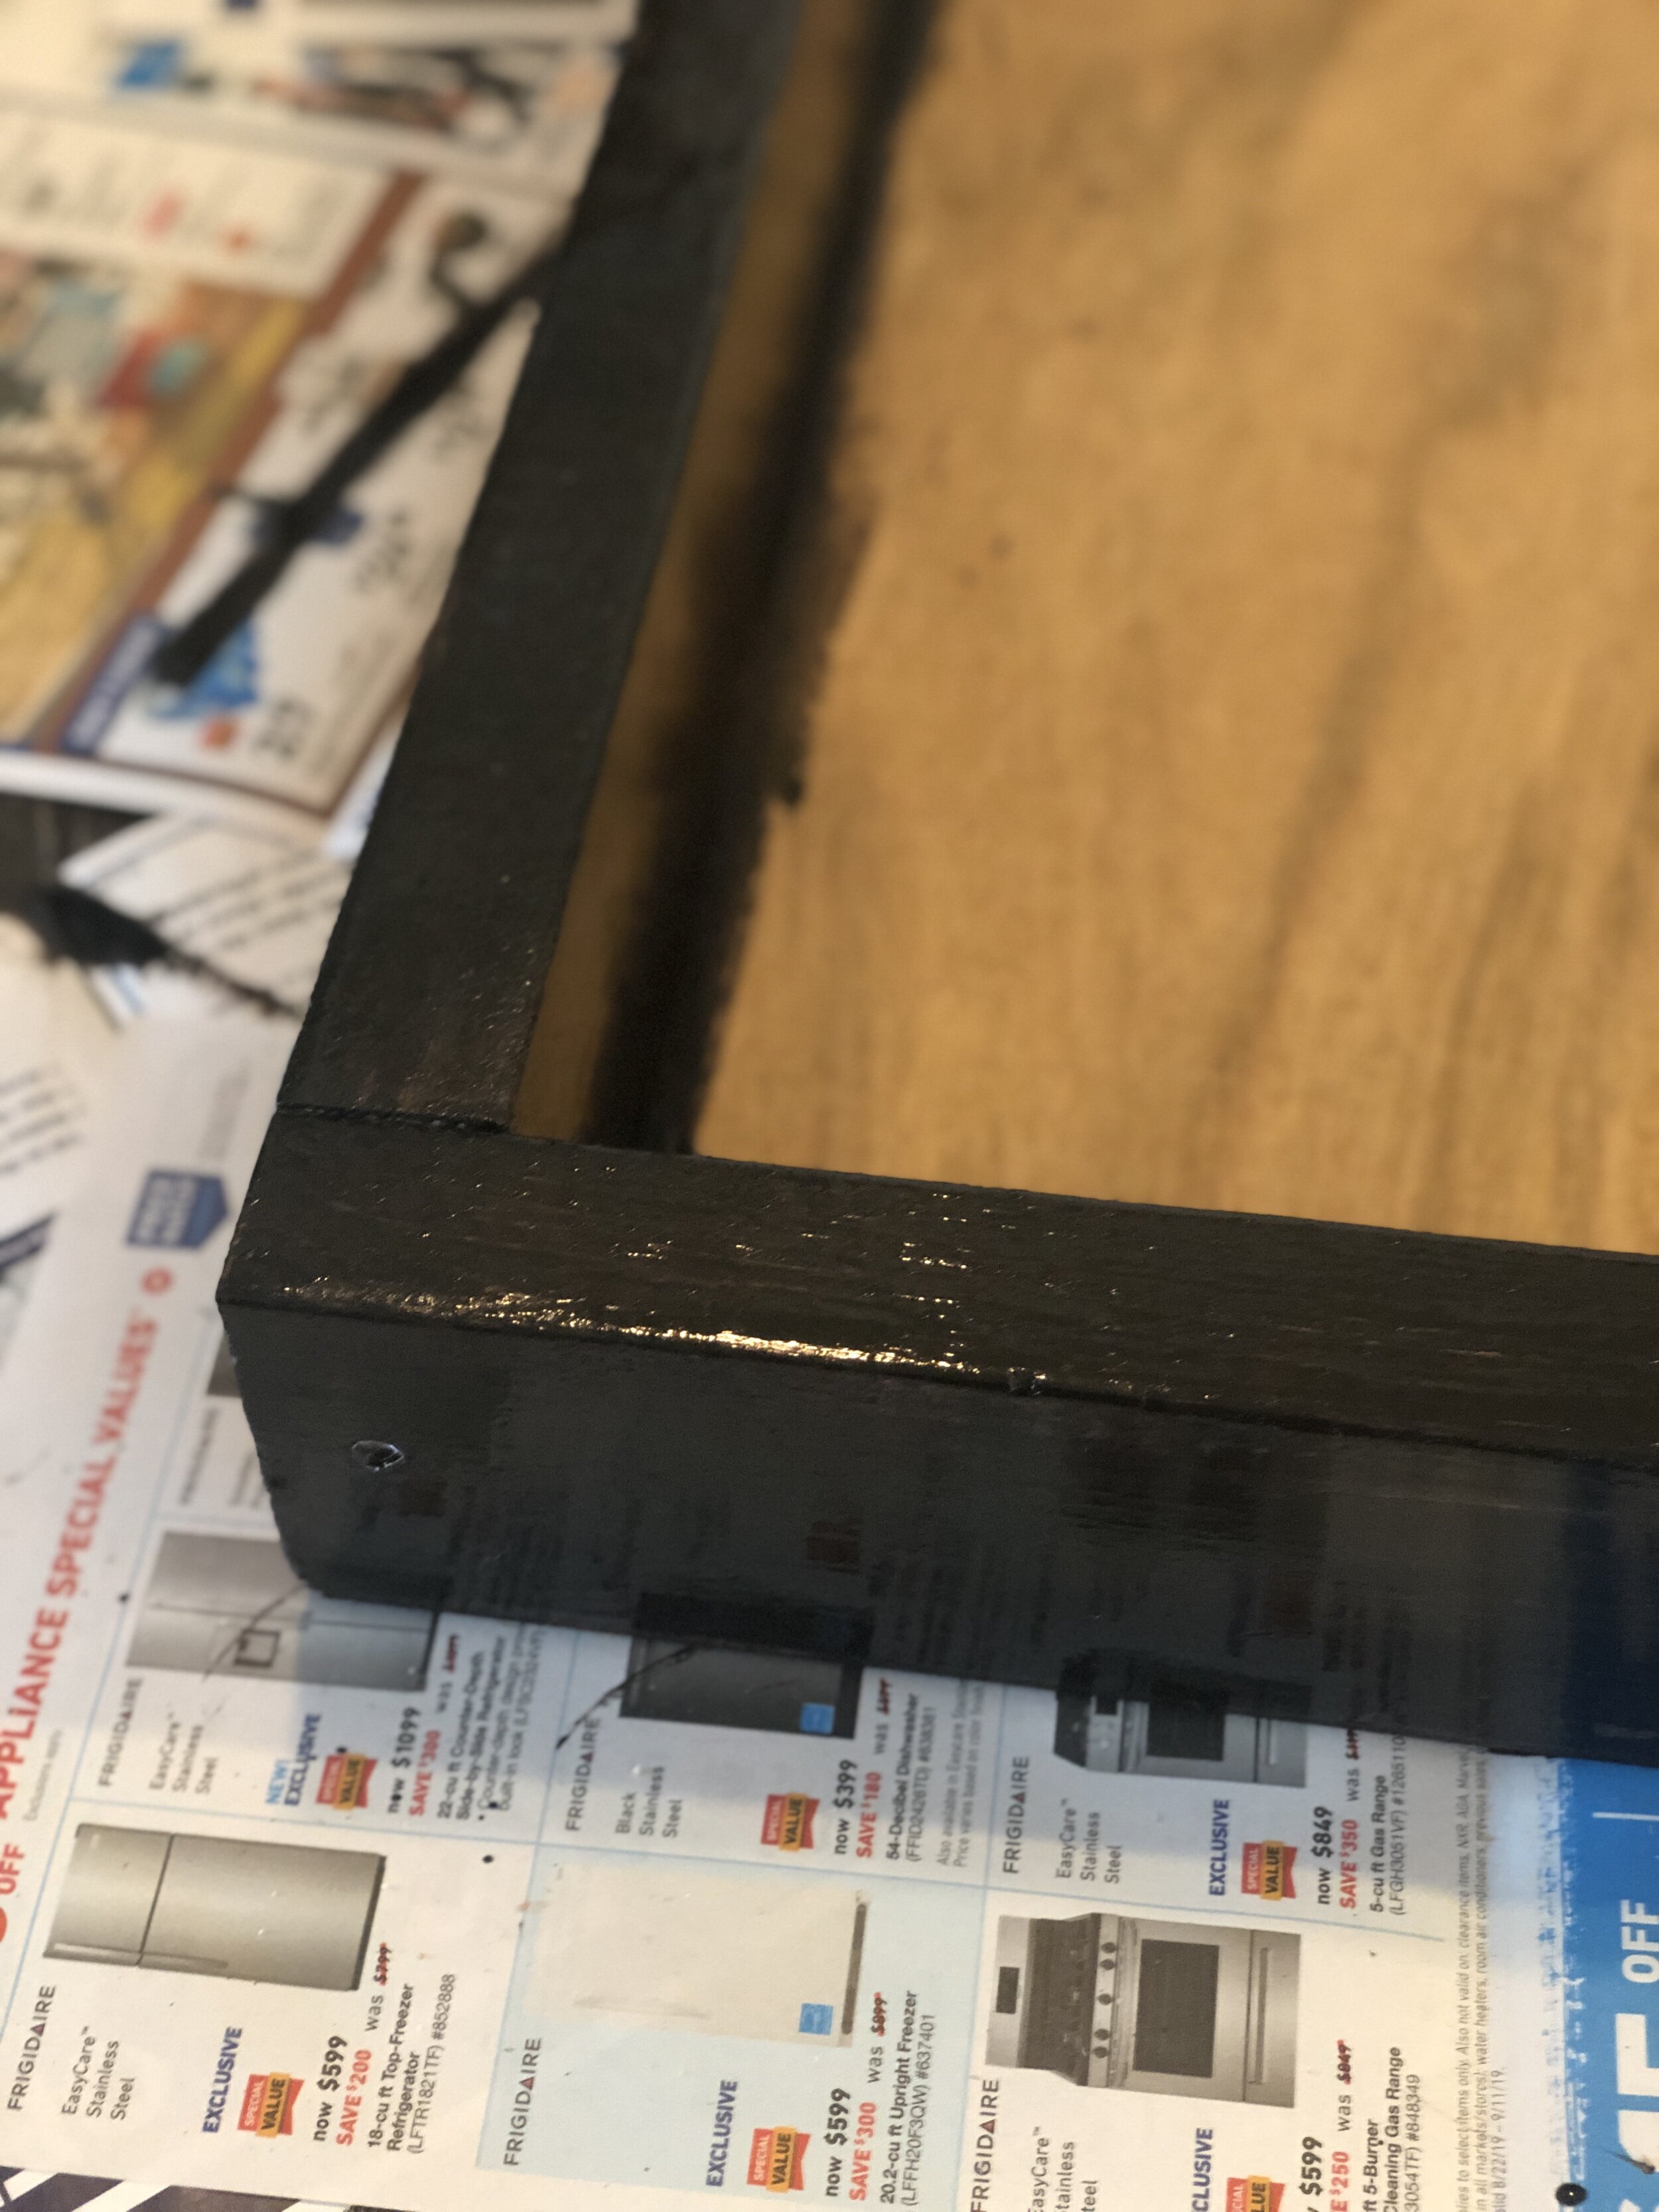
The strips across the back laid on top of the frame rather than inside it. This on is a little hard to explain in words so try to bear with me.
I cut the back strips to lay on top on the assembled frame, with the screws going down into the frame. I should have cut the strips to fit in between the sides of the frame, with the screws going in from the sides. Assembling it the second way probably would’ve helped fix the previous problem I had with the lumber not being straight.
I painted the wood. This one is more of a personal preference thing, but I just really didn’t like how the wood looked after painting it. Staining the wood looks better IMO.
So don’t do any of those things. Spend the couple extra bucks, double check that your wood is straight, and use a full sheet of plywood as the back of the mirror. Now that we’ve gotten that out of the way…
how to build a simple modern mirror frame for only $30 dollars!
You read that right—this entire project only cost me $29.92! (for reference, my first method would’ve been about $20, so not a huge difference there). I already had the mirror, gorilla glue, screws, and drill—but I did have to buy:
2 - 2x4 Lumber Boards - $10.36
1 - 4x8 Sheet of Utility Plywood (2.7mm) - $10.98
1 half-pint of Wood Stain (HERE is stain + poly I used, in the shade Glossy Ebony) - $8.58
(These were the prices at my local Home Depot. Prices vary by location.)
(1) Remove the old frame
*If you have a frameless mirror, skip to step 2*


Since I used a framed mirror I already had, I had to remove the old frame to get the exact measurements of the mirror itself. I removed the paper backing and the cardboard corner pieces. I took the staples out of the mitered corner pieces and used pliers to remove the silicone/glue on the edges. After that was done, I carefully pulled the frame apart on one corner. Be very, very, VERY careful not to put too much pressure on the mirror or you risk breaking it. Once the first corner was seperated, the rest were pretty easy to take apart.
After a couple of nerve wracking moments (and a crackling sound that I was sure couldn’t be good), I got the old frame off and checked my mirror to find it still intact. Yay!!!
(2) Measure your mirror
This is pretty straightforward. Use a measuring tape to measure the length and width of your mirror. Mine is 36” W x 66” L.
Now on to creating the new frame.
(2) Measure and cut your lumber.
For my dimensions, two 10ft boards was the most cost effective way to buy the lumber (least amount of wasted wood). I had my boards cut to the correct size at the hardware store. This is a great (& free) option if you’re like me and a) don’t have a saw or b) have a small car that can’t transport 10ft boards of wood. Keep in mind that most (all?) hardware stores don’t do precision cuts, so we’ll be assembling the mirror using butt joints instead of mitered corners.
I wanted the top and bottom pieces to extend past the side pieces to create my butt joint, so I did a simple equation:
(thickness of wood pieces x 2) + the width of the mirror = length of top and bottom pieces. So for my mirror it would be: (1.5in x 2) + 36in = 39in
The sides should be the exact length of your mirror—so 66in in my case.
After cutting your lumber, lay the pieces down around your mirror to make sure they’re correct.
(4) Measure and cut your backIng board
We’ll be assembling the frame like an open box with the mirror inside, so you’ll want your backing board to extend onto the frame. Here’s the equations for figuring out the size:
Width of mirror + (thickness wood x 2) - 1in = width of backing board
Length of mirror + (thickness of wood x 2) - 1in = length of backing board
I subtracted 1in from the overall length and width of the frame so I could be sure the backing board wouldn’t extend past the frame. My dimensions were 38in x 66in.

Now time to assemble!
(5) assemble your frame
I don’t have any other area to do projects in, sooo I usually end up doing everything in the kitchen. The hard floors make clean up pretty easy, but I sure do wish I had a garage to work in… (ahem, Ira *hint hint*, I’d like a detached garage for Christmas).
Anyways, assemble your frame and be sure to line up the boards with the top and bottom pieces outside of the side pieces. I used two 2in screws in each corner to ensure the frame would be sturdy. Pre-dill your holes and make sure that your screws are long enough to pass all the way through the top/bottom board and into the side board.
*Tip: don’t tighten the screws completely just yet. Leave a little wiggle room for easy placement of your mirror, then tighten the screws once the mirror is in place.


(6) Add the backing board
Once your frame is completely assembled, lay the plywood board on top of the open box frame and screw it into place. Again, make sure you predrill the holes first and use enough screws to keep the board securely in place. I use 5-8 screws on each side.
(7) Stain your frame
Now that your frame is assembled, flip it over and stain/paint your wood. I found it easiest to apply the stain with a paintbrush rather than a rag. Wear rubber gloves to keep your hands from getting stained, but don’t worry about getting stain on the backing board as the mirror will cover it up anyway.
I went over the entire frame twice back-to-back and then let it dry for 6 hours before touching it.
(8) Lower your mirror into the frame
If your mirror is large like mine, you’ll need a friend to help you out with this last part. With the frame still laying flat on the ground, carefully set the mirror inside of it. Then tighten the screws around the frame. Stand the mirror up, put it in place, & you’re done!
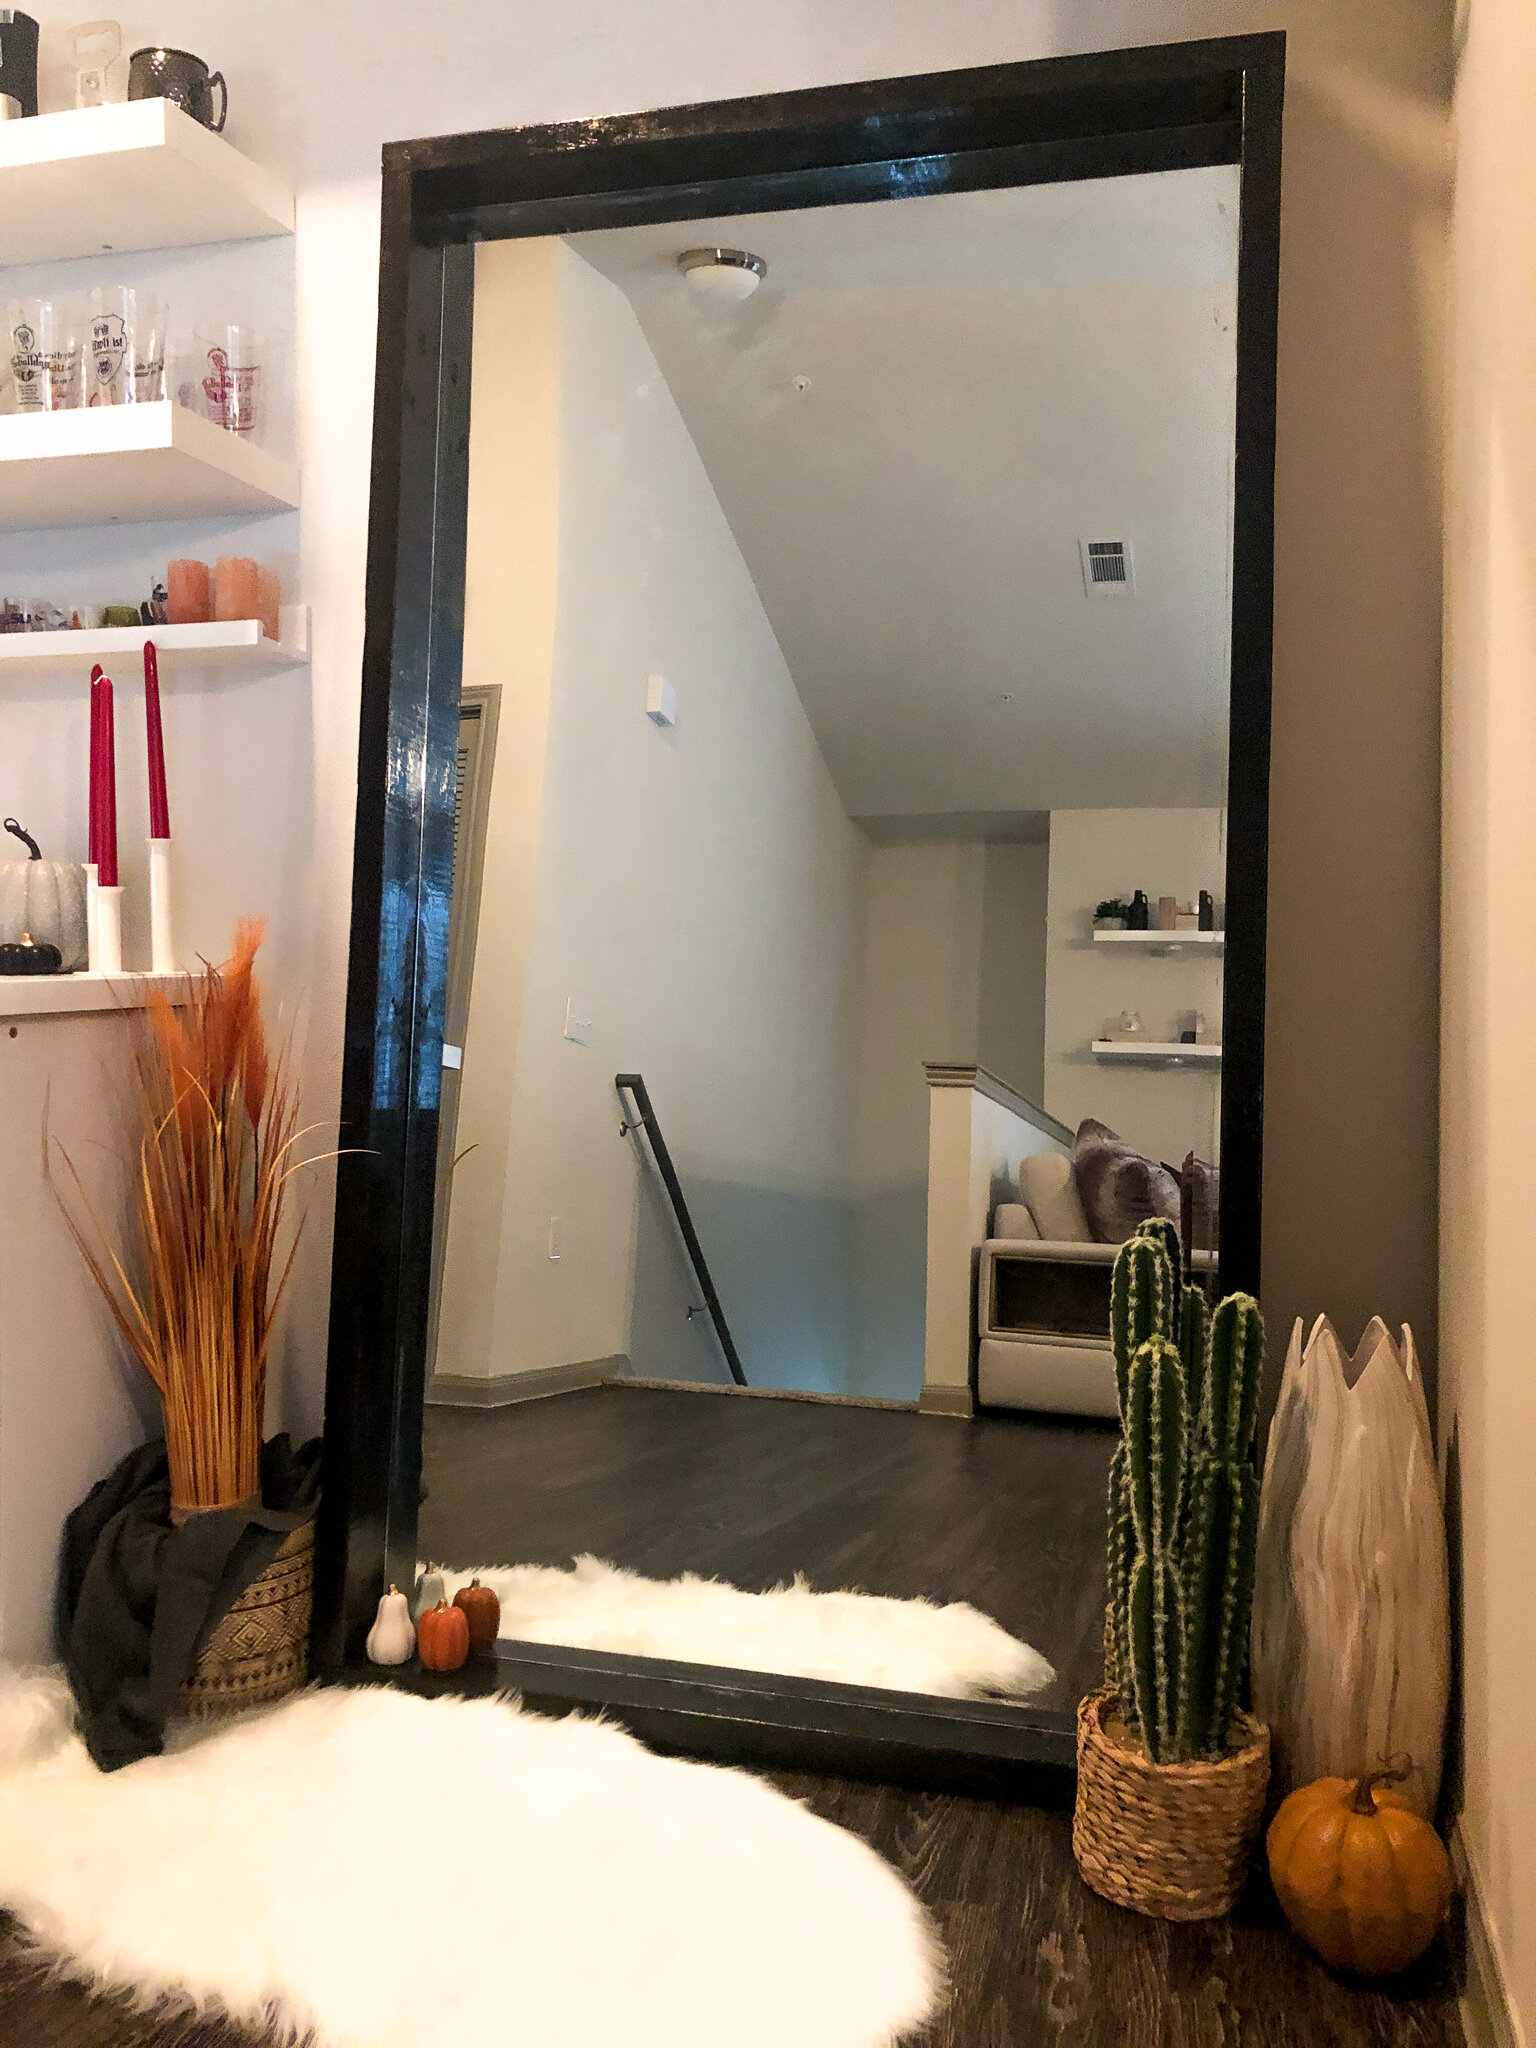
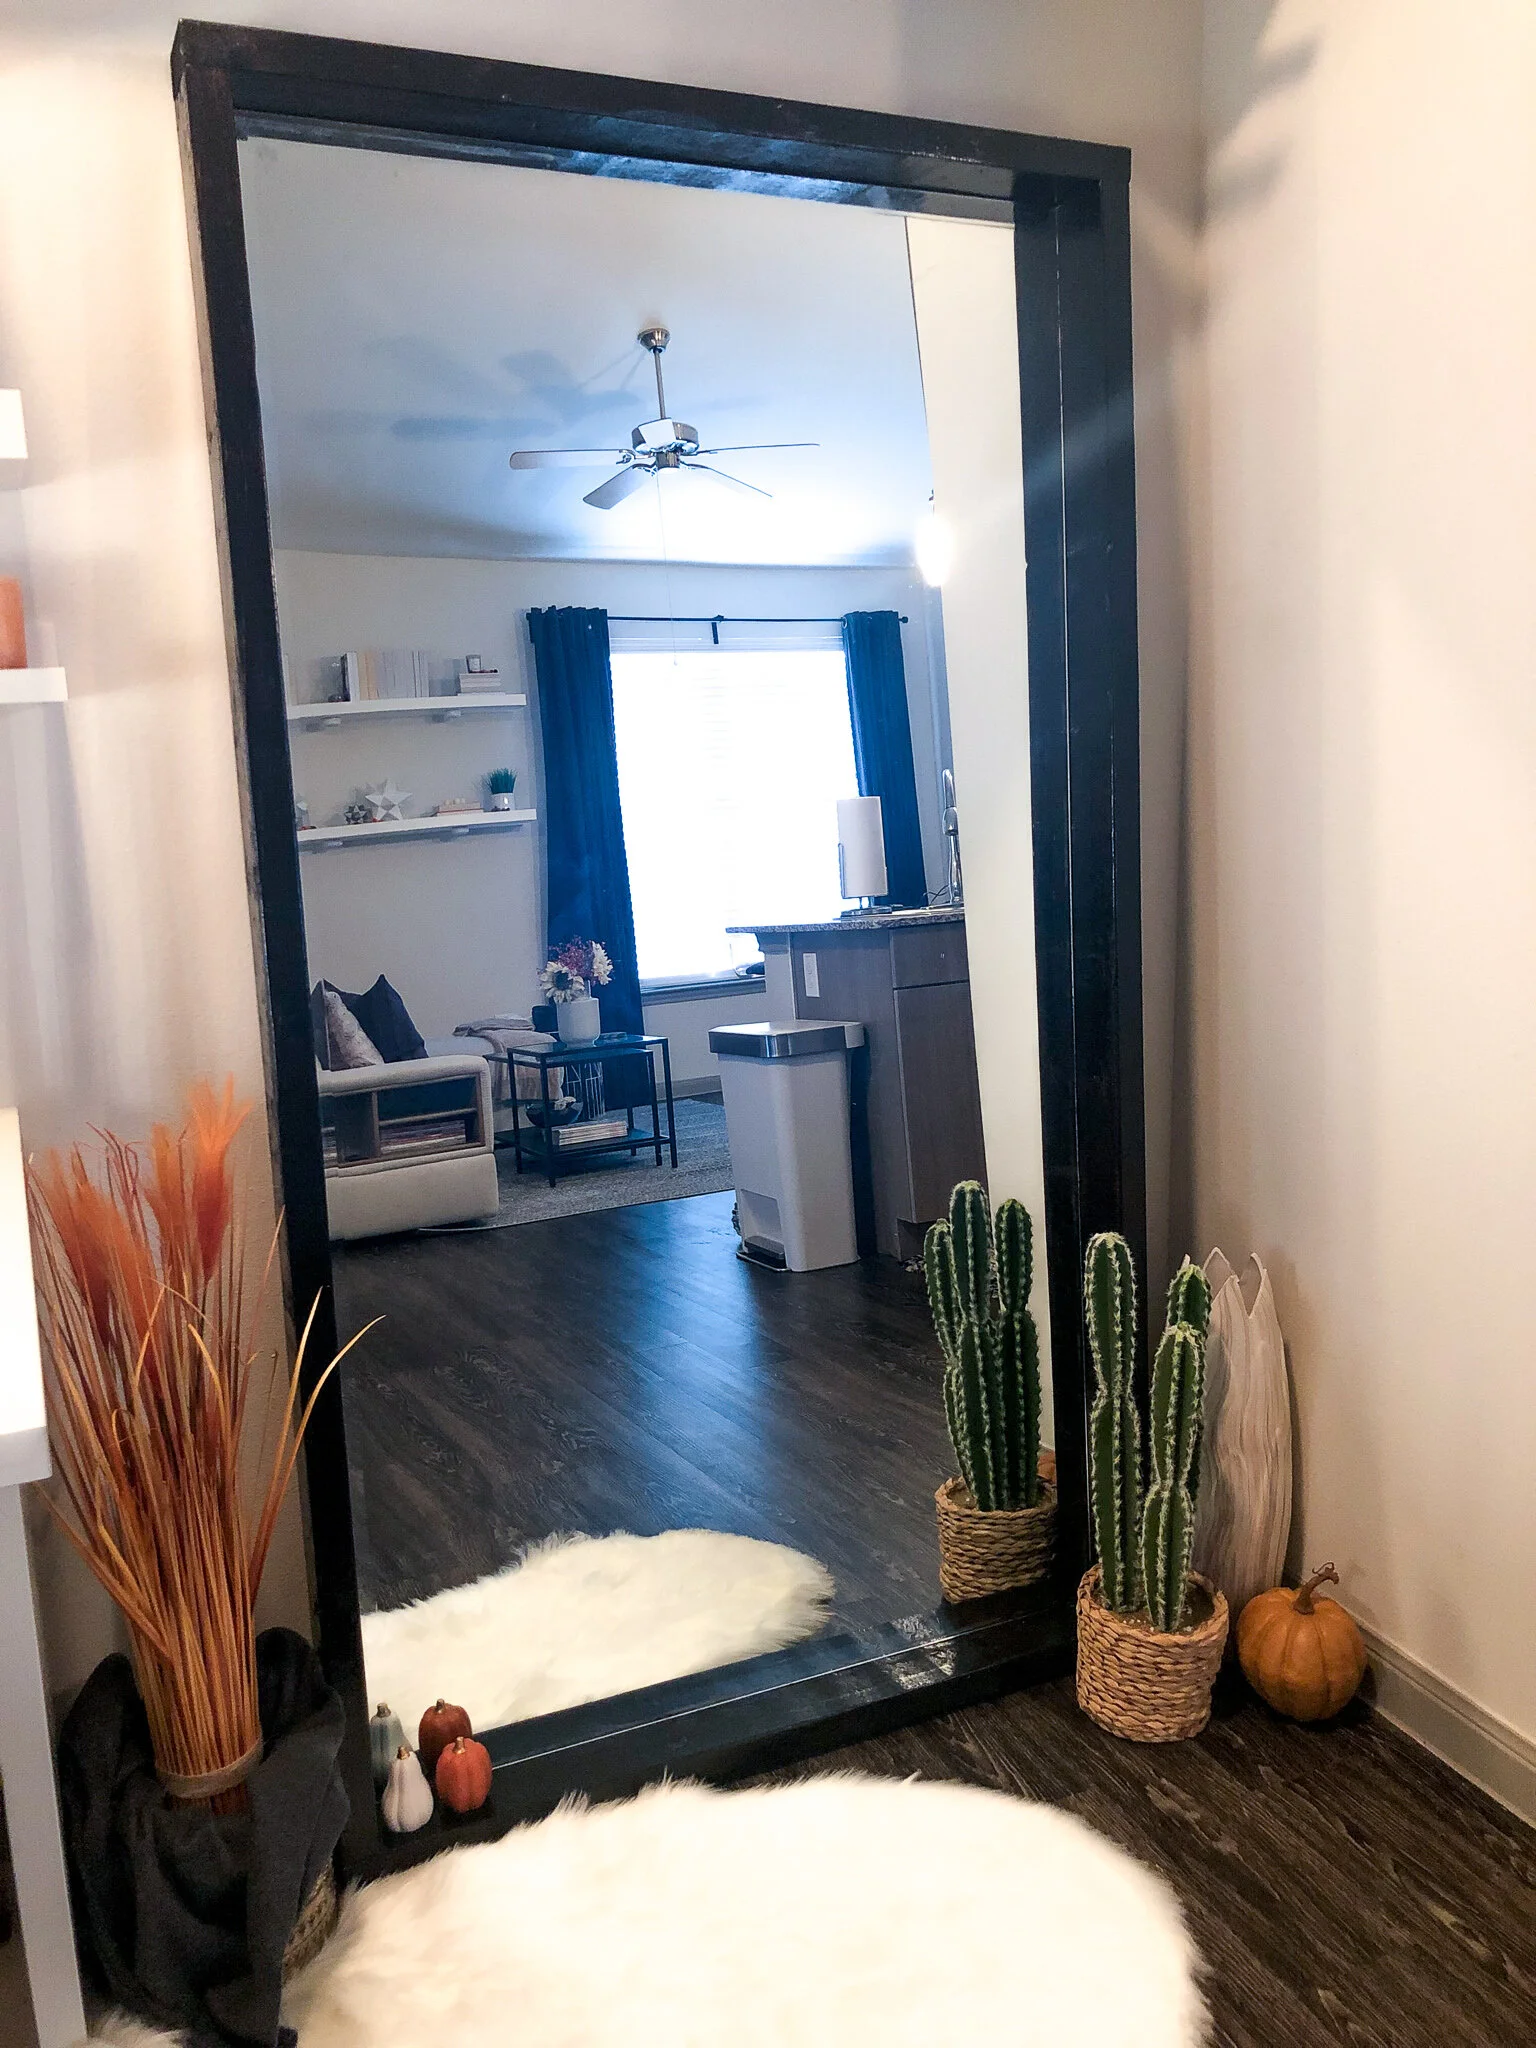
Seriously, how cute is that?! And it was sooo easy to do. The entire project only took a day, and most of that was just waiting for the wood stain to dry before I could move the mirror. After I finished, I couldn’t help but add a couple more decor pieces to style the area around the new mirror. I found the small furry rug at Ross, but here is a similar one at Home Depot for the same price. The tiny pumpkins and the small orange pumpkin can be found in Target’s dollar spot section (major score!) and the fall grass is from At Home. Simple fall look for, again, less than $30!


Hope y’all enjoyed this simple DIY tutorial and learned from my first failed attempt! Be sure to use the tag #MyKaylaSimoneHome to show me your own mirror framing projects on Instagram. Can’t wait to see what you come up with!